
VIEW THOUSANDS OF MOVIE STILLS
IMAGE GALLERY
Merrily We Roll Along

In this photo :
MerrilyWeRollAlong1


In this photo :
MerrilyWeRollAlong2

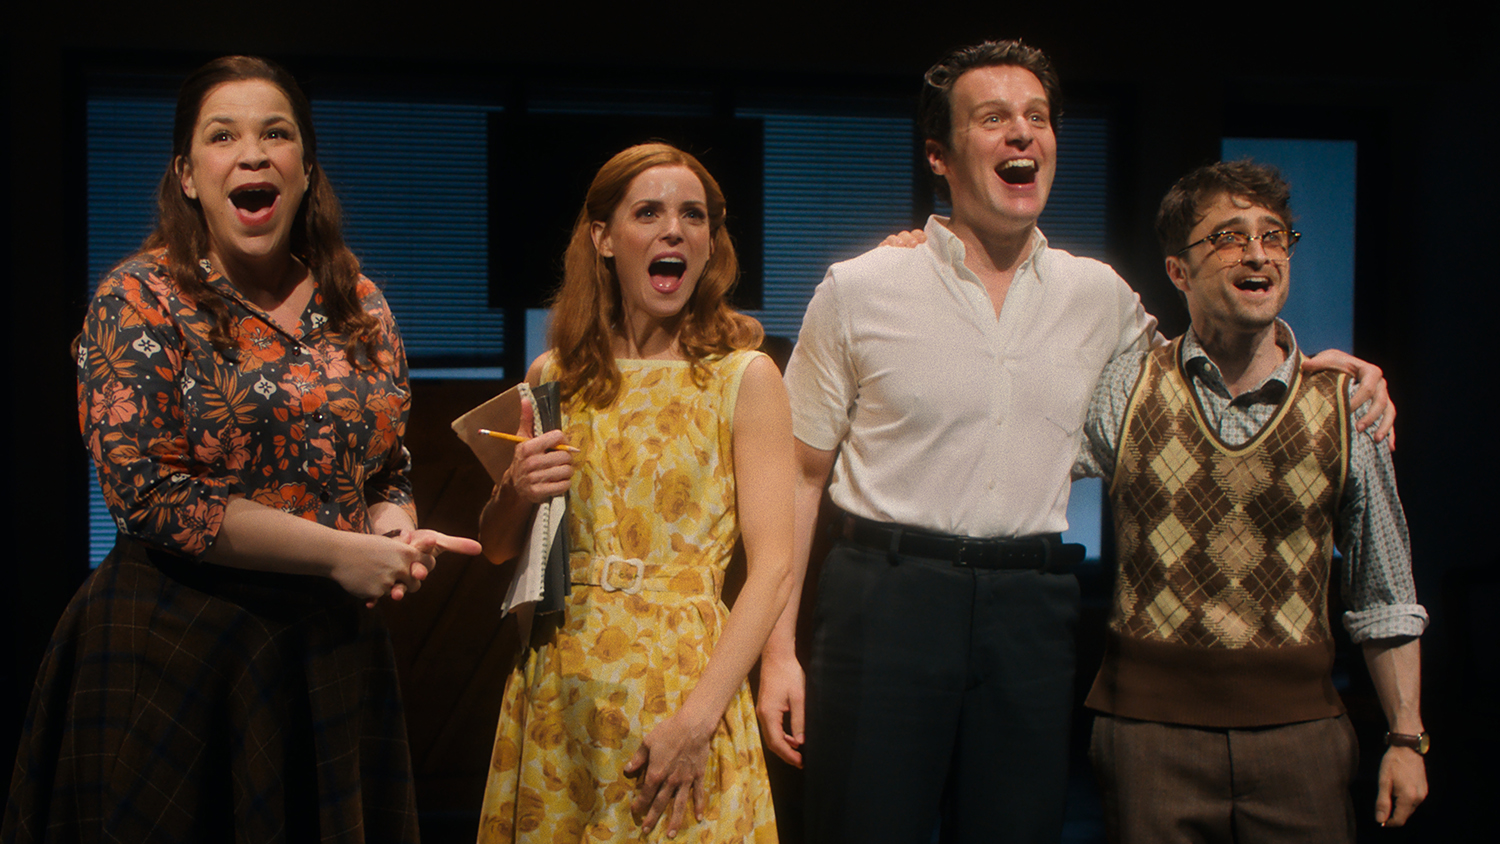
In this photo :
MerrilyWeRollAlong3


In this photo :
MerrilyWeRollAlong4


In this photo :
MerrilyWeRollAlong5


In this photo :
MerrilyWeRollAlong6

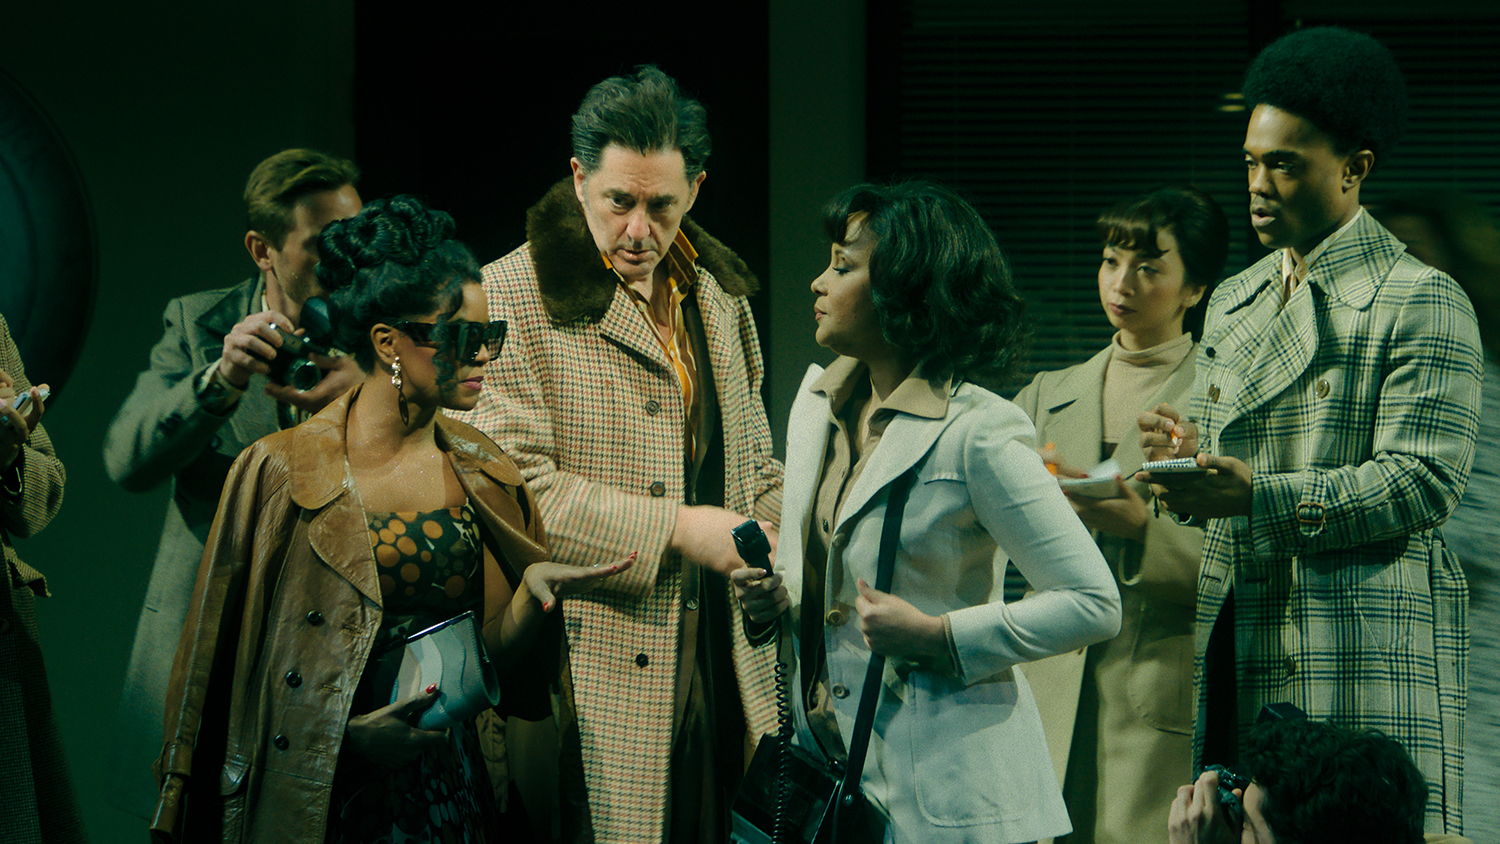
In this photo :
MerrilyWeRollAlong7

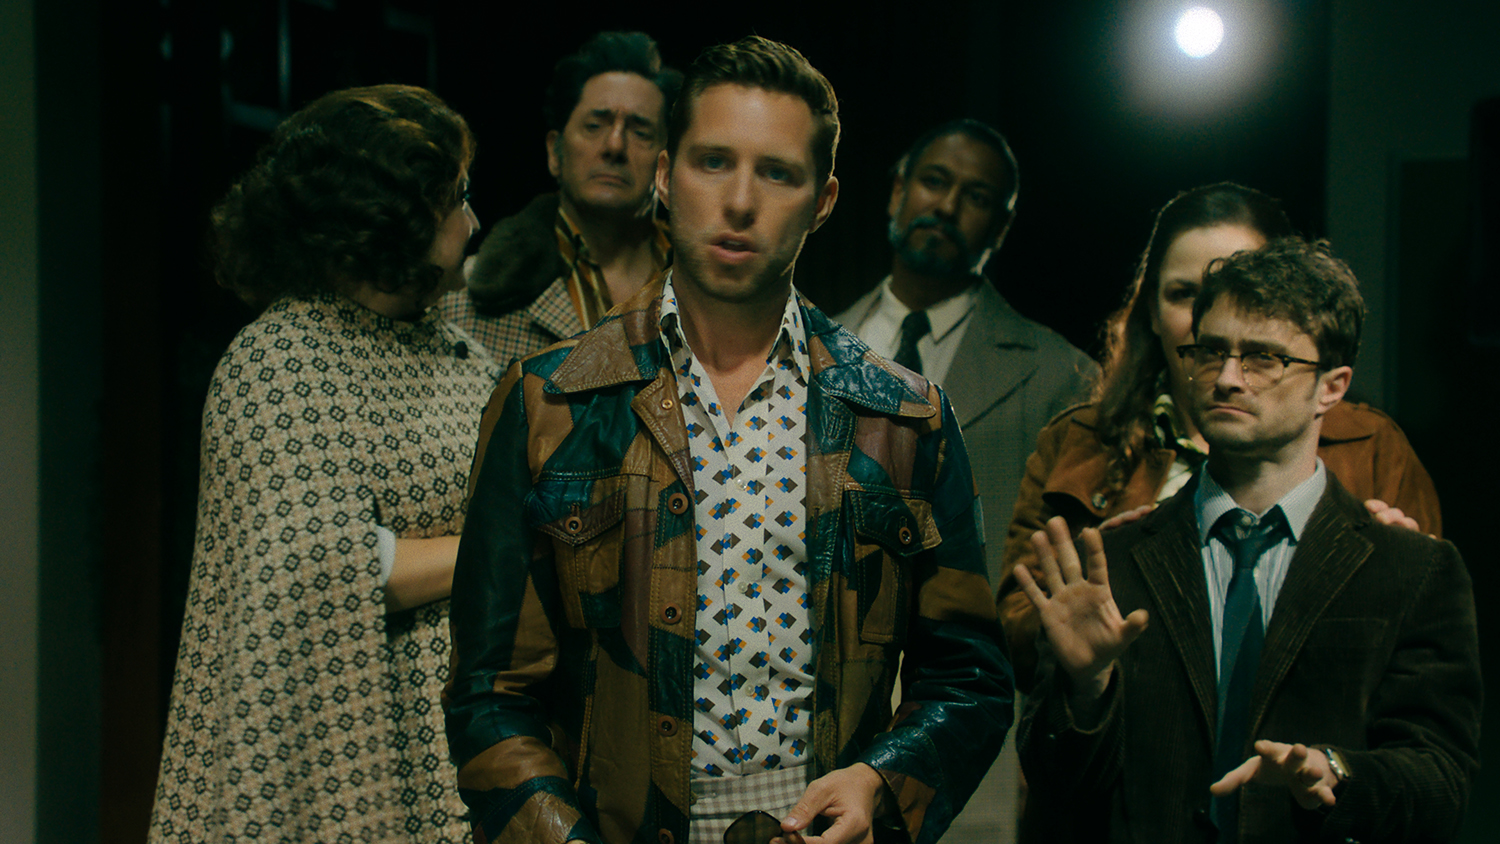
In this photo :
MerrilyWeRollAlong8

![{"cropCoordinatesFromUBA":{"offsetX":1314,"offsetY":0,"width":1382,"height":2160},"logo":{},"logomatorBoundingBoxes":[{"id":1,"name":""}],"version":3.3}](https://www.thefancarpet.com/wp-content/uploads/2026/05/MerrilyWeRollAlong9.jpg)
In this photo :
{"cropCoordinatesFromUBA":{"offsetX":1314
"offsetY":0
"width":1382
"height":2160}
"logo":{}
"logomatorBoundingBoxes":[{"id":1
"name":""}]
"version":3.3}

![{"cropCoordinatesFromUBA":{"offsetX":1357,"offsetY":0,"width":1382,"height":2160},"logo":{},"logomatorBoundingBoxes":[{"id":1,"name":""}],"version":3.3}](https://www.thefancarpet.com/wp-content/uploads/2026/05/MerrilyWeRollAlong10.jpg)
In this photo :
{"cropCoordinatesFromUBA":{"offsetX":1357
"offsetY":0
"width":1382
"height":2160}
"logo":{}
"logomatorBoundingBoxes":[{"id":1
"name":""}]
"version":3.3}

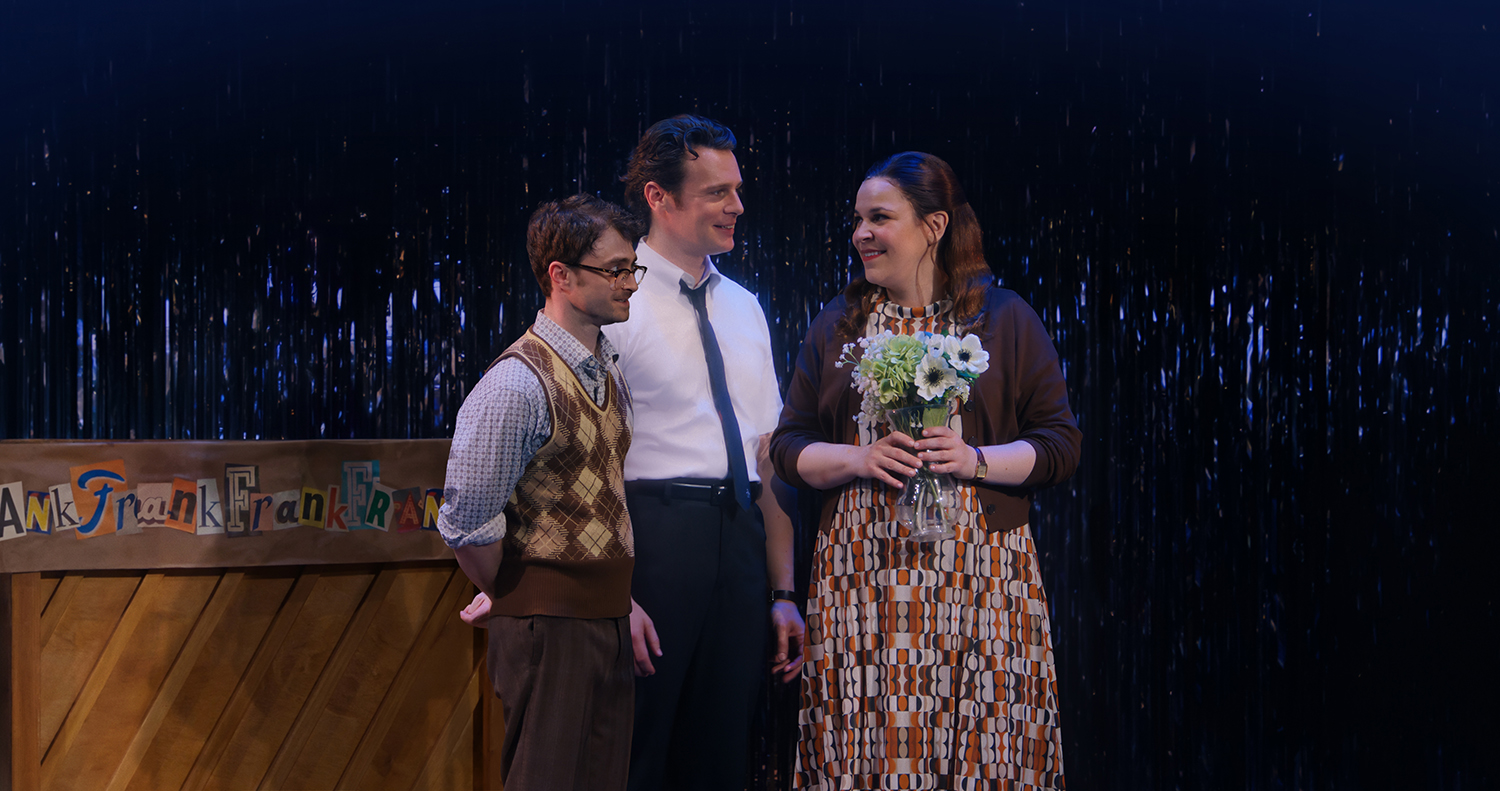
In this photo :
MerrilyWeRollAlong11


In this photo :
MerrilyWeRollAlong12


In this photo :
MerrilyWeRollAlong13

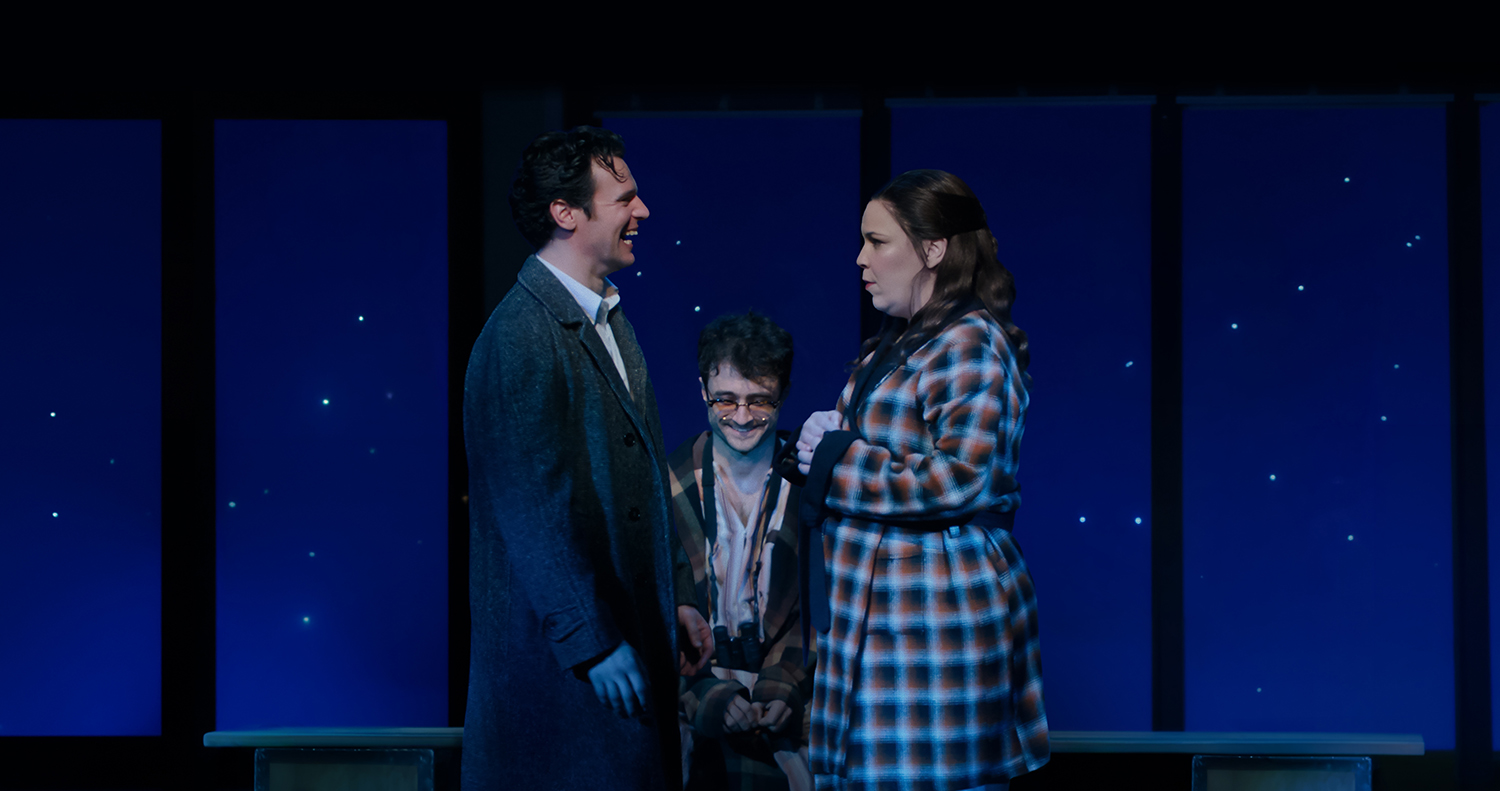
In this photo :
MerrilyWeRollAlong14


In this photo :
MerrilyWeRollAlong15

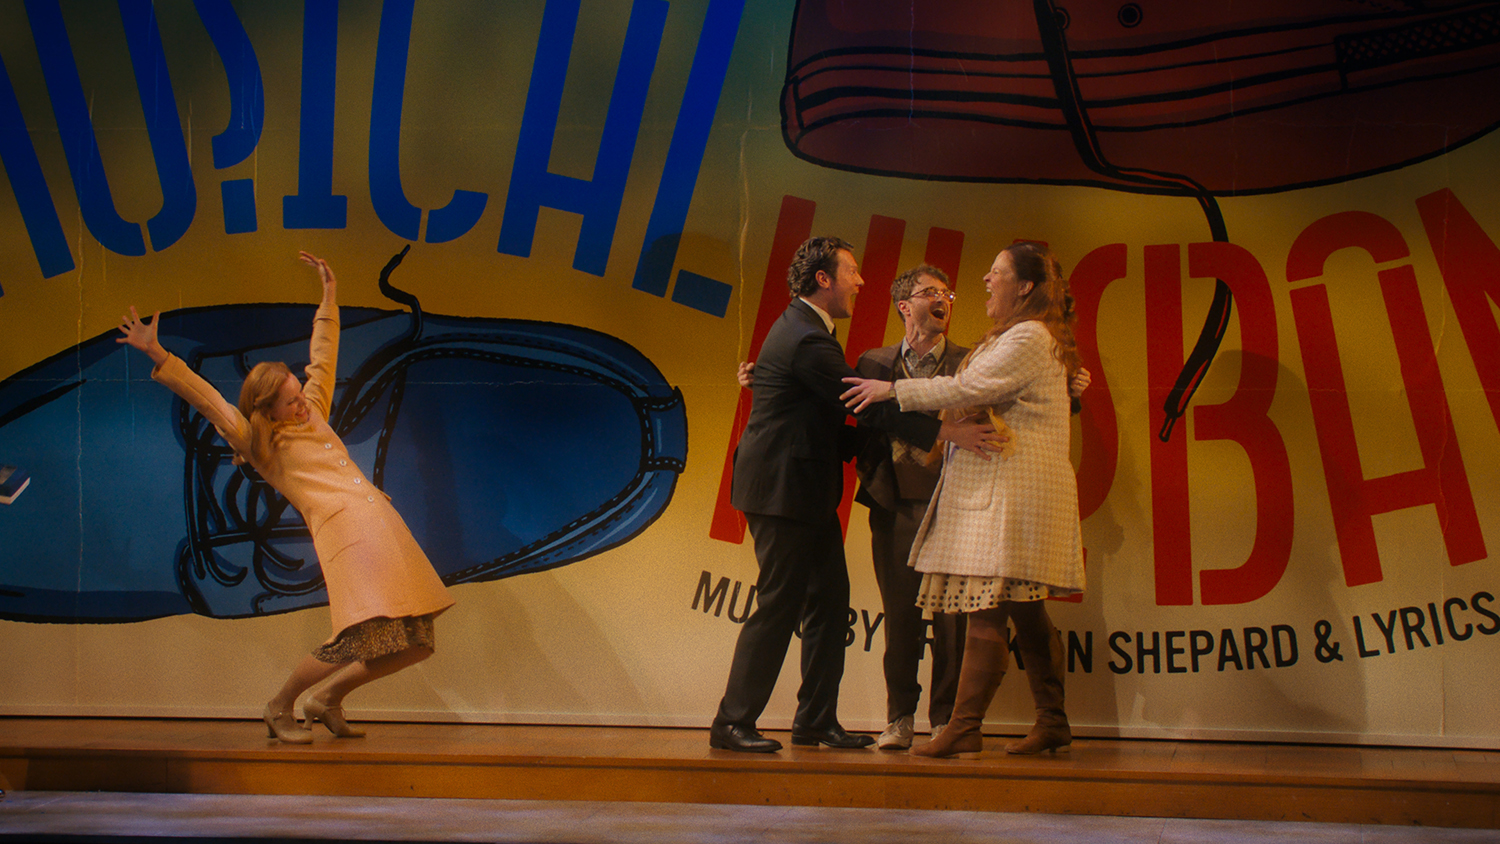
In this photo :
MerrilyWeRollAlong16

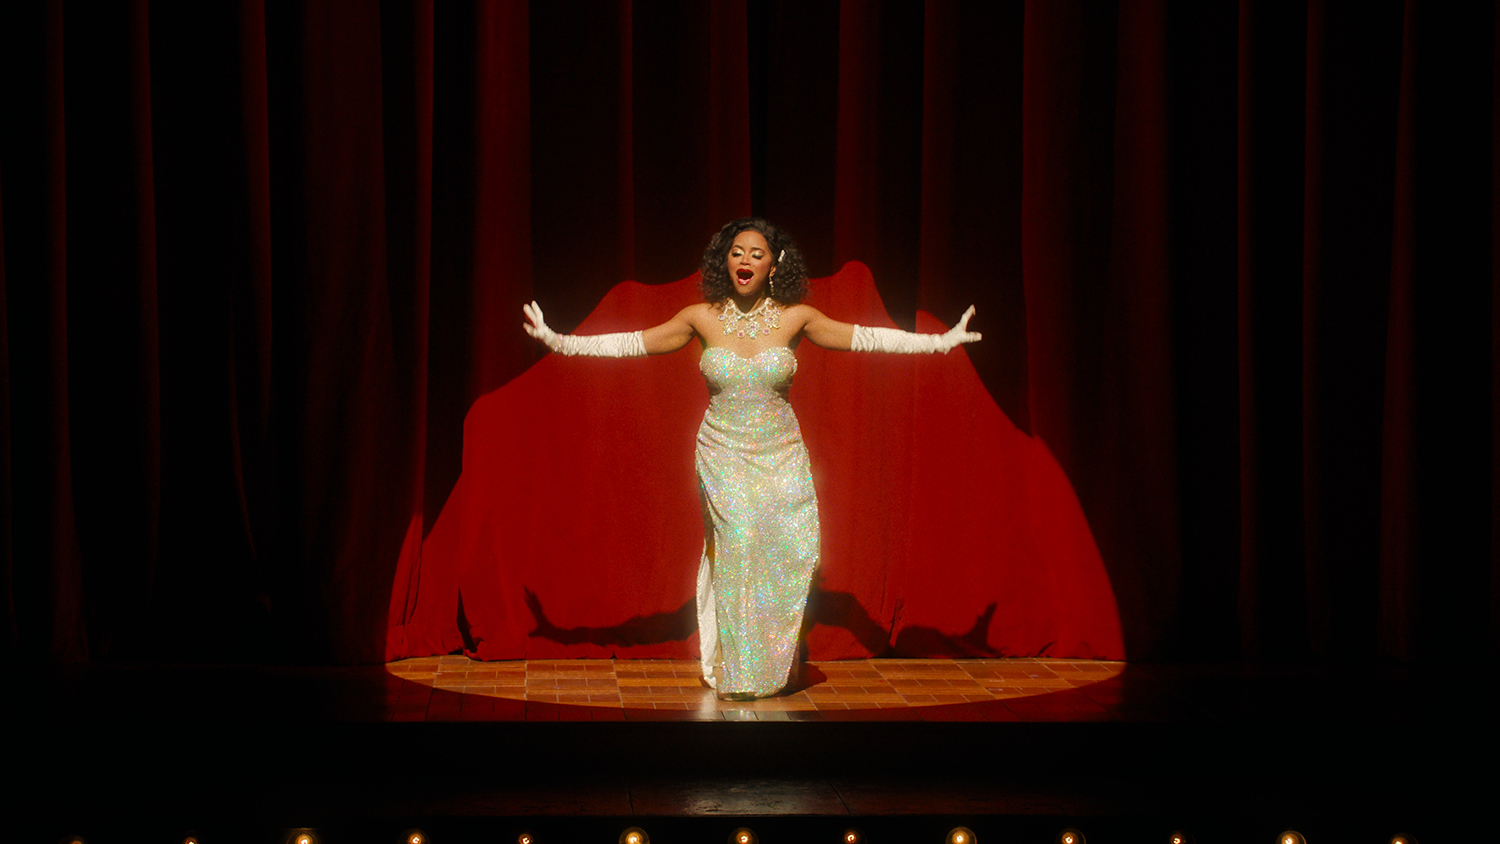
In this photo :
MerrilyWeRollAlong17

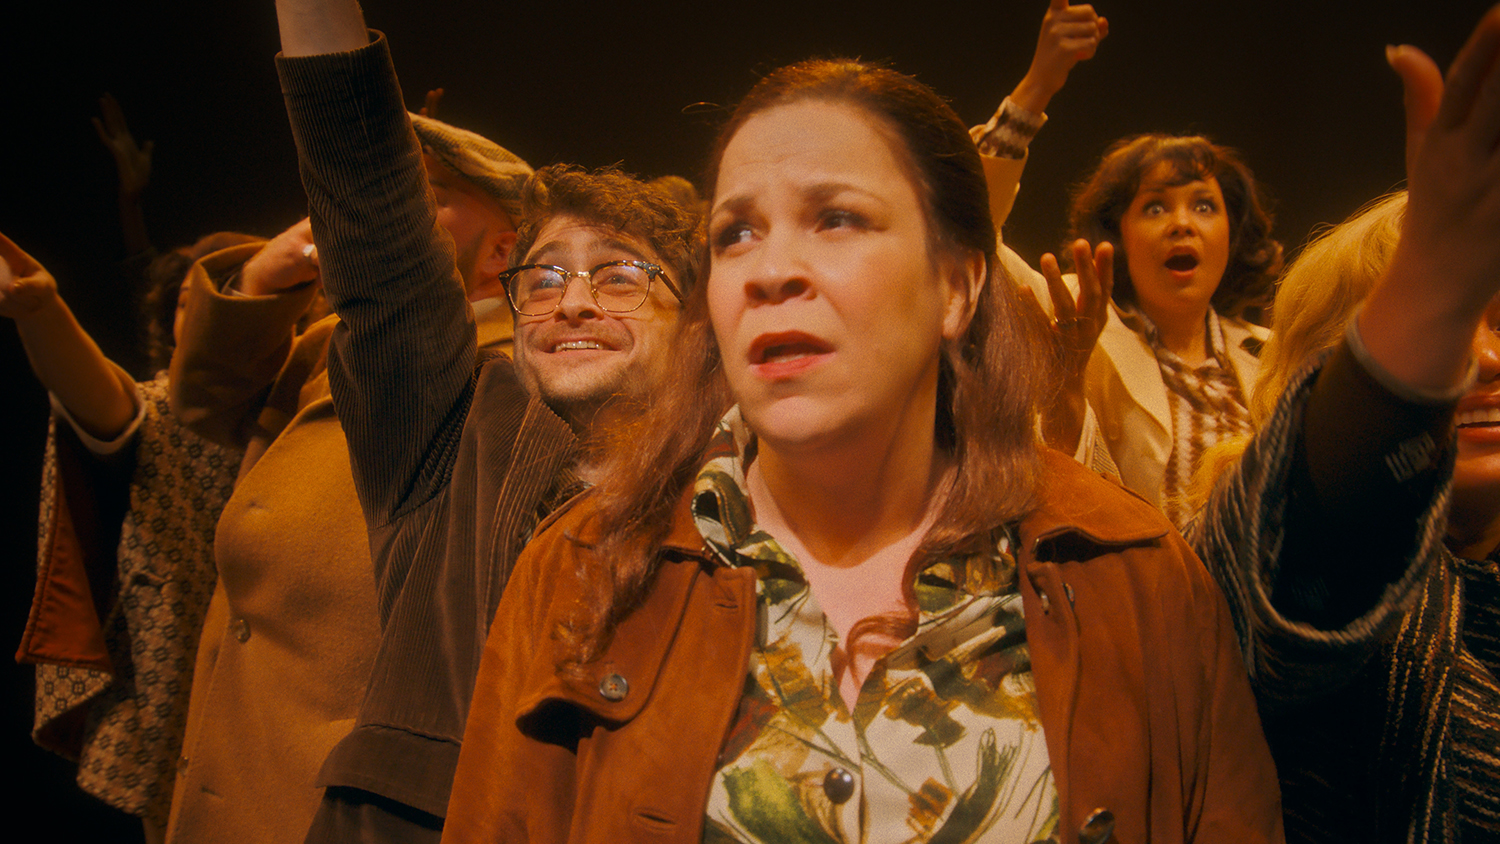
In this photo :
MerrilyWeRollAlong18

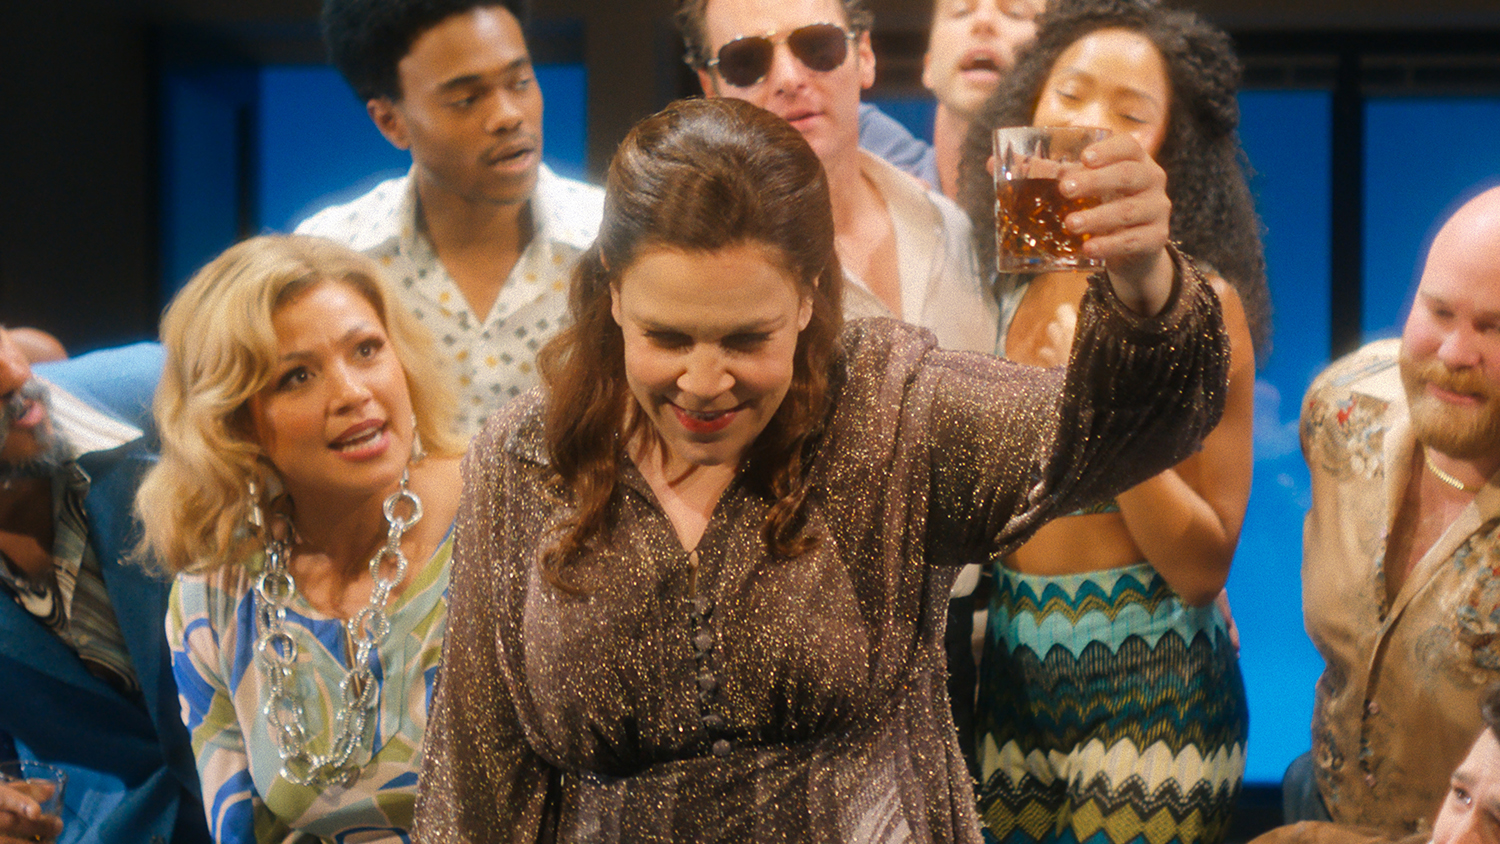
In this photo :
MerrilyWeRollAlong19

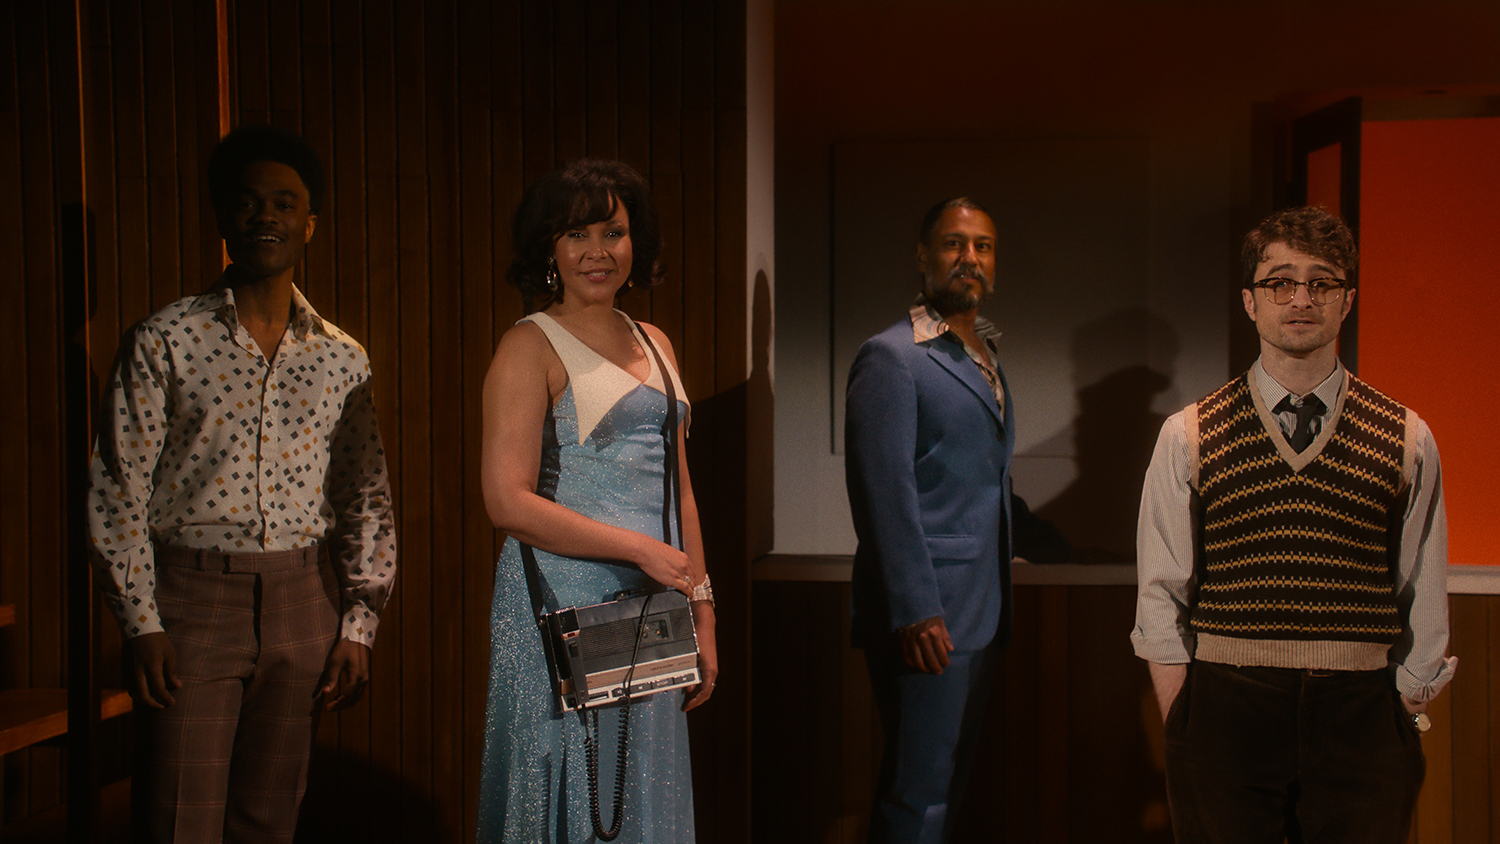
In this photo :
MerrilyWeRollAlong20

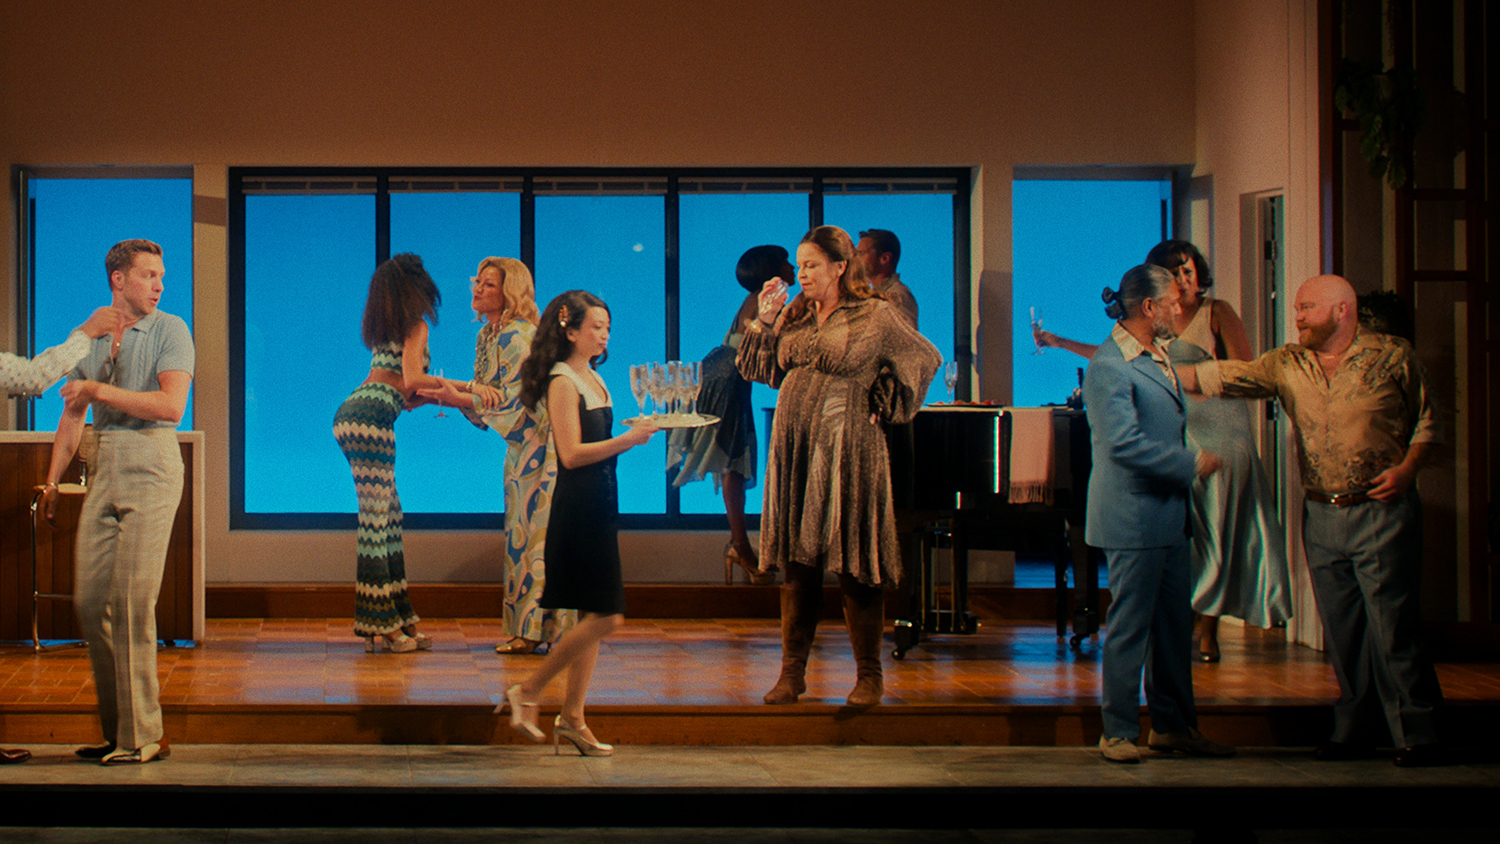
In this photo :
MerrilyWeRollAlong21

© Sony Pictures Home Entertainment